Now I wish I had a picture of exactly what it looked like when I first got it home but, alas, I do not. The only immediate change I made was ripping the brown carpet-like material off of the top. I'm not sure what it's purpose was, but it was nasty and had to go. What was left of the top was particle board so I decided to paint it to match the laminate base. That was over 2 years ago:

I loved our TV stand and it functioned perfectly except that the weight of the TV and media stuff was causing the particle board top to bow and I wasn't loving the color. It also wasn't the greatest looking up-close, you could totally tell it was painted particle board! About 3 months ago I convinced my sweet hubby to help me carry that bad-boy out to the garage so I could revamp it. Tom looked at me all crazy and said "I have a feeling we will have to buy a new TV stand after this". Clearly he didn't have very much faith in me!
Honestly, I wasn't exactly sure how my "idea" for this one was going to work out either. I figured if I ruin it, I only spent $30 on it over two years ago so we got our money's worth. The first order of business was to rip that top off & it was a huge pain in the arse! Tom and I swung a sludge hammer at this piece of furniture for at least an hour before we got it to budge. It's a wonder we didn't ruin it.

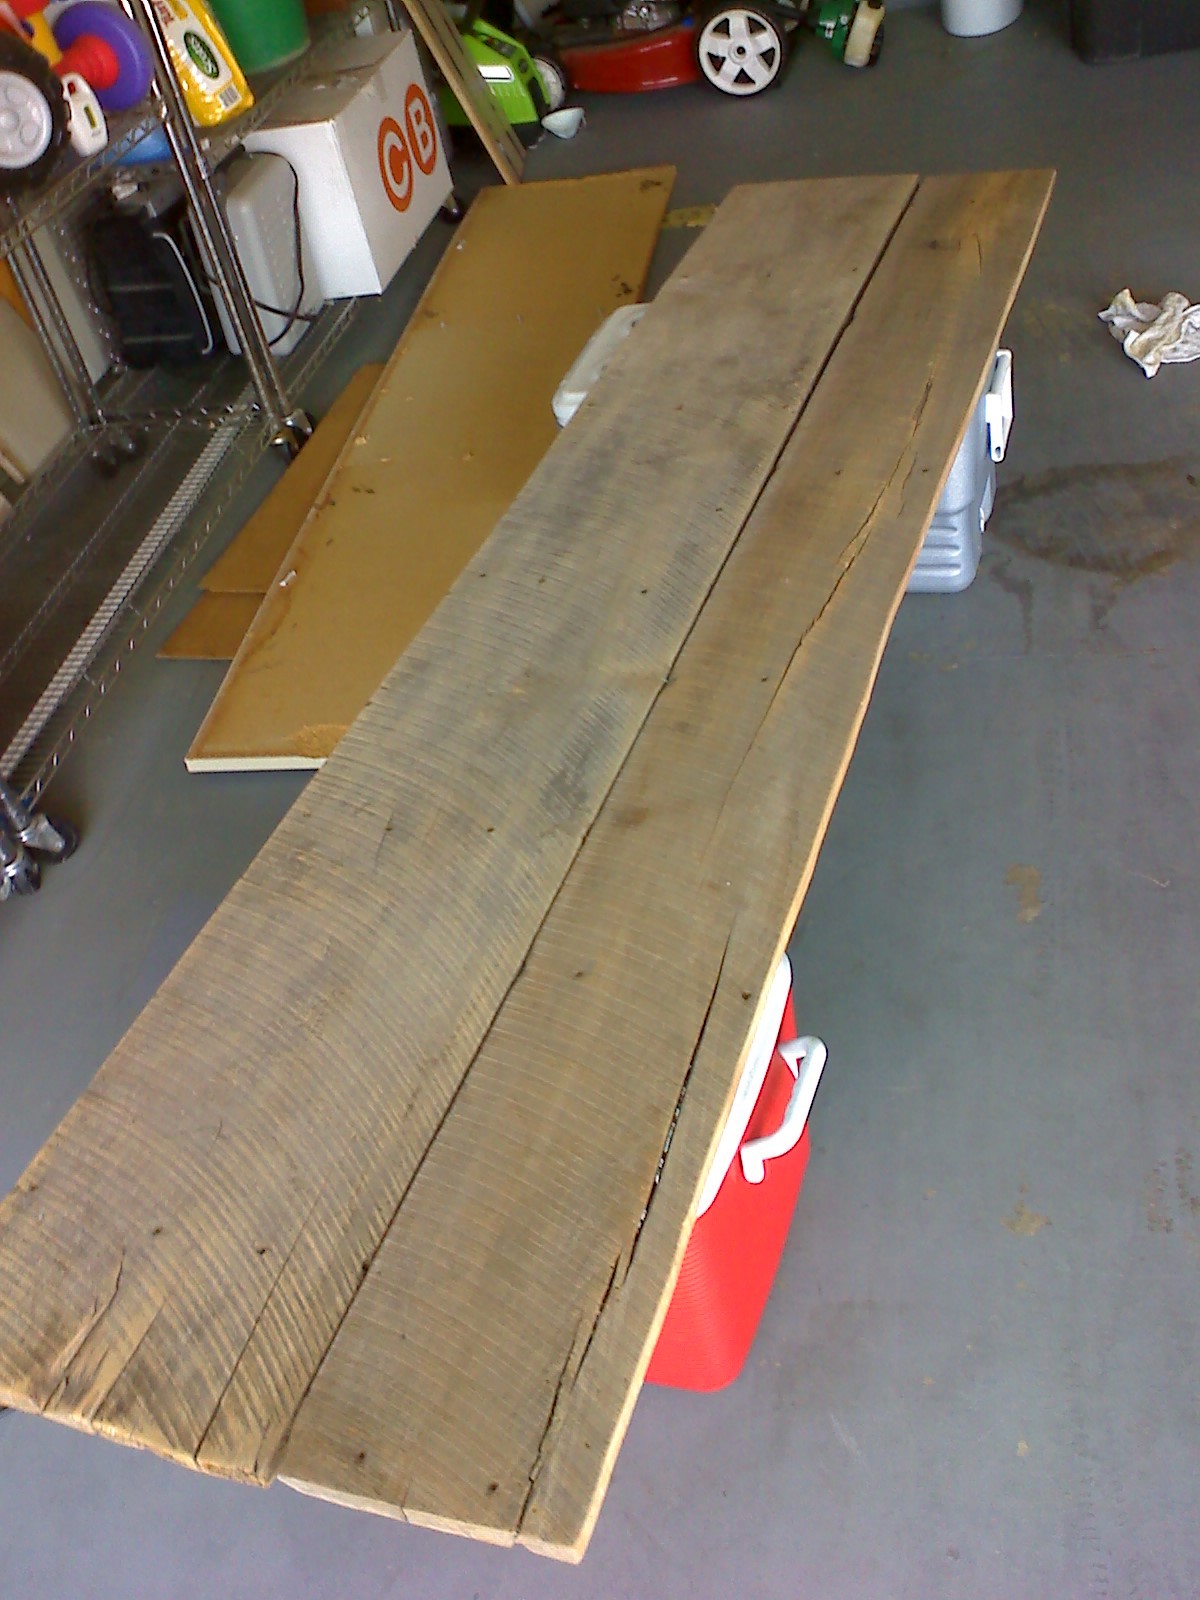
I had seen some old barn wood at an antique store nearby that I thought should work as a new (and affordable) top so off I went to pick out my pieces of wood. I ended up buying a ten foot long piece for $10 and an eight footer for $8. I needed the top, once assembled, to be about 8 feet long and 2 feet deep. I got them home, measured and cut them to size using a jigsaw (it's the only saw I own so far) and sanded them smooth with a palm sander.
Then it was time to seal the wood for a nice finished look. I used Minwax Polycrylic in clear satin. I did 3 coats to ensure longevity and prevent the wood from splintering any further. While the poly was drying, I spray painted the frame and drawer fronts with white semi-gloss Rustoleum. I then attached the top (two pieces of wood) in the same way that the previous top was, screwed on from underneath. Although it felt secure, I added a few more screws through the top just to be safe. Without further ado, here he is, all made-over:

I painted over the metal strips that wrapped around the drawers and just left the handles chrome. This furniture upgrade cost me $18 (the paint and poly I already had on hand). So total this is a $48 piece of furniture (I paid $30 originally for it). Not bad. Here are some more pictures, because I am super proud of this piece and so glad I didn't ruin it!


What a difference it makes:

I think that about wraps up the living room tour!
Here are some sources if you're interested:
white curtain panels: JCP online
couch: Ashley Furniture homestore
lamp: HomeGoods
rush grass ottoman (set of 3): amazon.com
pillows: Target and HomeGoods
hanging lamp: Lowes
mirror: Target
chairs: thrifted
pillows on chairs: http://www.etsy.com/shop/Landofpillows
green throw blanket: Tuesday Morning
No comments:
Post a Comment